Part I. Bronica SQ (medium format transparency film) + Nikon Coolscan 9000 vs EOS 1Ds (full-frame DSLR)
Apples to Apples: Print Size
Any reasonable comparison has to settle on a target print-size. I love shooting square images with my Bronica SQ, printing them big, and framing them with a 3-inch overmat on all sides. Since 32"x40" is the largest matboard I'm man enough to handle, this restricts me to a 26"x26" print. I compared square as well as a 2:3 (35mm proportions) images from the two cameras, printed to 26" on the long side.For a chart of equivalent focal-lengths across formats, see this.
Test Environment
- sturdy tripod
- 16 bit RAW capture on 1Ds at 100 ASA
- Provia 100F (RDP III) film: 100 ASA 120 size
- Nikon Coolscan with Nikon FH-869G glass carrier, ICE set to normal, 8-bit 1 pass scan (more on all this in Part II) at 4000 DPI.
- All Bronica lenses were PS series primes; all EOS lenses were USM primes.
- Epson 1270 printer; resulting prints scanned with Epson 1640 flatbed scanner at 400 DPI.
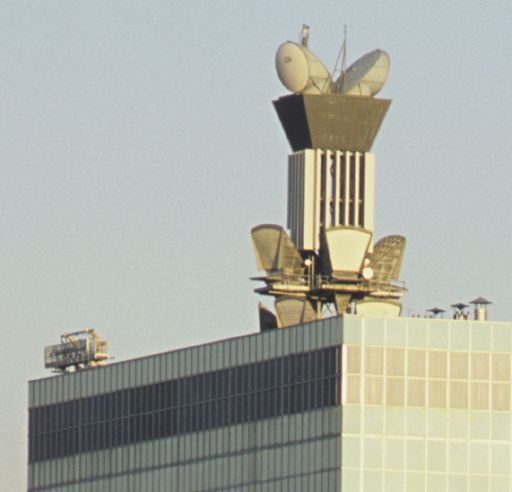
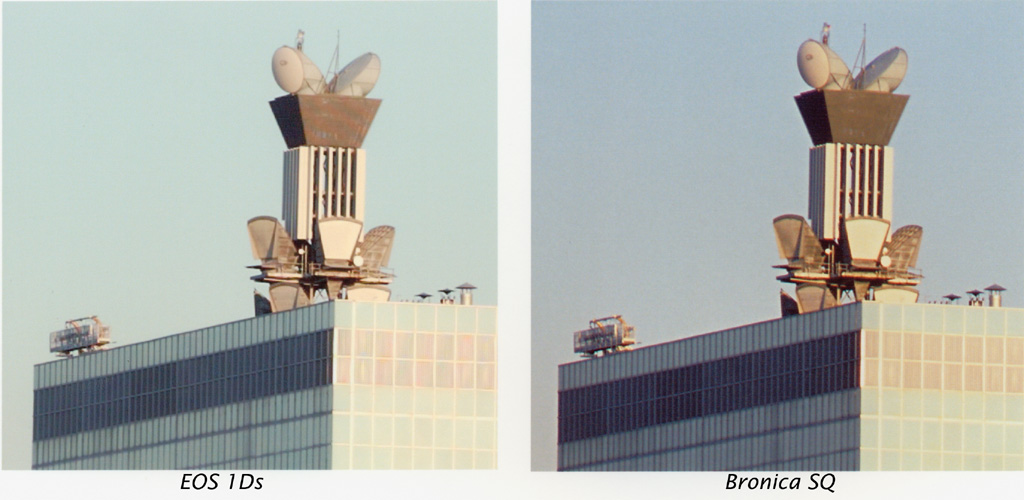
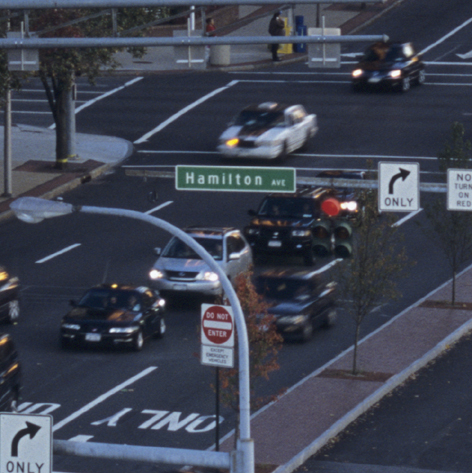
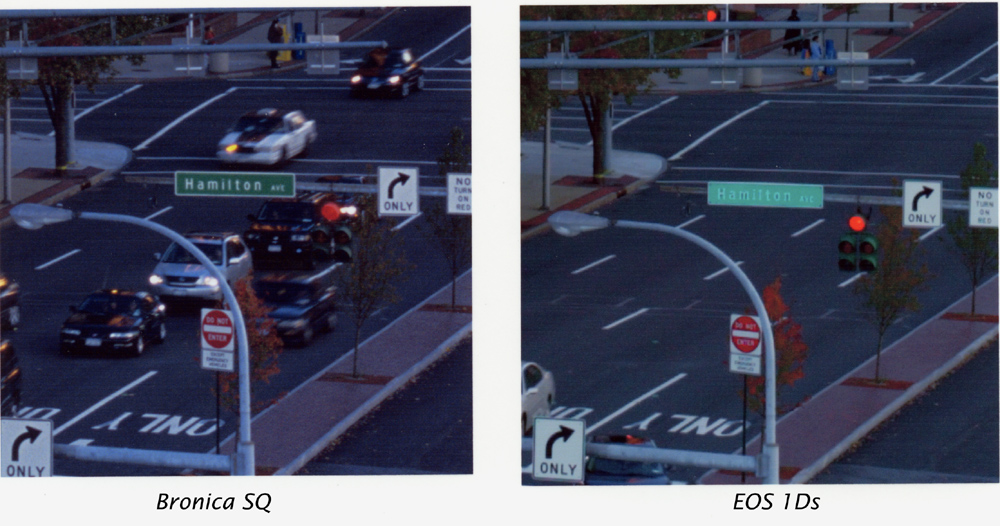
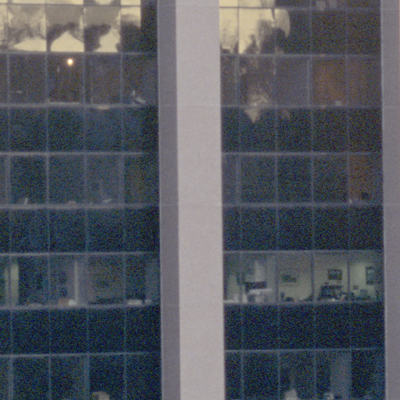
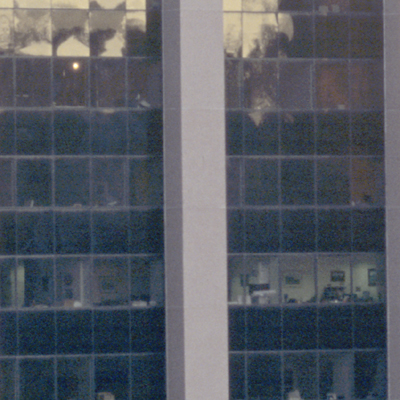
Scene 1: Bronica SQ-A with 150/4 cropped to 2:3 vs EOS 1Ds with 100/2
Here is the scene we're dealing with, as captured on the 1Ds.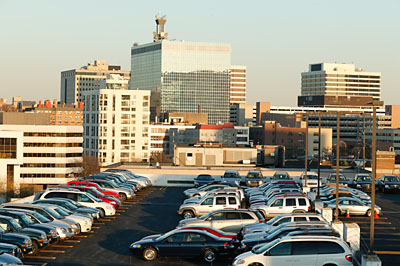
Each file was sized to 17.33"x26"; the Bronica file had to be cropped as well to get the 2:3
proportions. A
roughly 3"x3" section of each image with no change except for some hue/saturation
adjustment to give them a similar feel and resizing for convenience of presentation
is shown below. Larger sections with no resizing are available here.
 |
 |
| Bronica SQ | EOS 1Ds |
What are the important distinctions between the two files?
- The IDs file is much, much smaller. The 16-bit file is 64MB. At 8-bit, this becomes 32MB. Scanned at 8-bit 4000 DPI and cropped to 2:3, the Bronica file is 144MB. It makes a big difference while working on Photoshop with my Pentium 2.2 GHz, 1.5 GB RAM PC.
- The IDs file has a much cleaner feel, with virtually noiseless shadows, and a smooth, grain-free sky. (Be aware, though, that the noise and grain in the SQ scans are clearly visible only at a much higher magnification than we're printing at.) It requires less sharpening, which is always a good thing. Whether all this actually translates into a better print is debatable, and likely to vary from image to image.
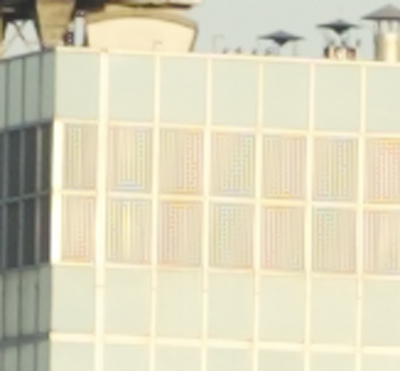
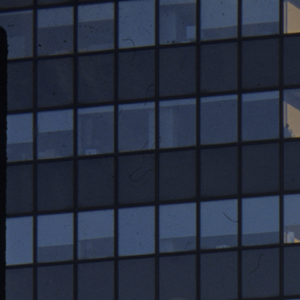
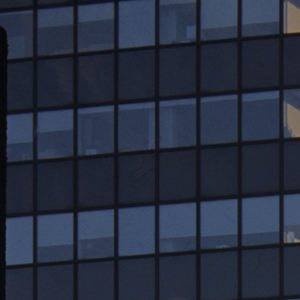
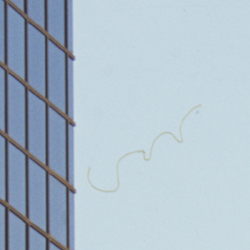
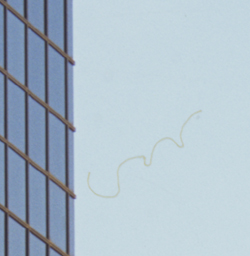
- The 1Ds file shows maze-like colored artifacts known as "moire patterns" in high-frequency
areas. One affected area is shown magnified here:

Bronica SQ EOS 1Ds
The Prints
To make the prints, unsharp masking was applied using Barry Haynes's "Sharpen Only Edges BH" Photoshop action (see Photoshop 7 Artistry); this creates a mask that selects the edges in the image and sharpens only these areas; the SQ file was sharpened to 400,1,0 (Amount, Radius, Threshold) whereas the 1Ds was sharpened to 100,1,0. Why use unsharp masking in a comparison of cameras? Because that's how the best prints are usually made.Each file was left at its "native" resolution for this print-size, 330 DPI for the SQ scan and 156 DPI for the 1Ds; the printer driver was left to do its own up/down-sampling.
Here is a small scan of the prints, which are 3"x3" sections of a 17.33"x26" image. I doubt it's very useful for judging the quality of
the prints, but anyway...
Here's a larger scan of the prints, but honestly, you need to use the source files, sharpen them to your taste, and print them yourself (or at least view them in an image editor) to get a real feel. My judgement is:


